Video Editing How-to: Easy Way To Edit A Video

Hello!

Think of any complex job like surgery or airline pilots. Both of these processes involve a lot of steps and a very small margin for errors. Yet these industries have found a way to make these processes easier and streamlined. This online video editor
This happens with the help structure. Having a set order of performing activities can make it much easier to master any skill. Here is an eight-step process that anyone can follow to ensure you have a seamless experience with video editing.
Step One: Create a File System
Before you dive into the editing table there are a few steps of file organization that help you make the most of your editing process. Like you would prepare all your ingredients before you start cooking, this arrangement is also necessary.

Do not just arrange your videos, but also create an organized system for sound files, images, graphics, and any other assets that you might need for the project. Once you have them sorted and arranged, create a backup of this on a second hard disk or cloud storage.
Step Two: Import Files
Most advanced editing tools will allow you to import these sets of folders directly as a bunch into the editing software. This way you can create stacks inside your editing tool to help arrange your files.
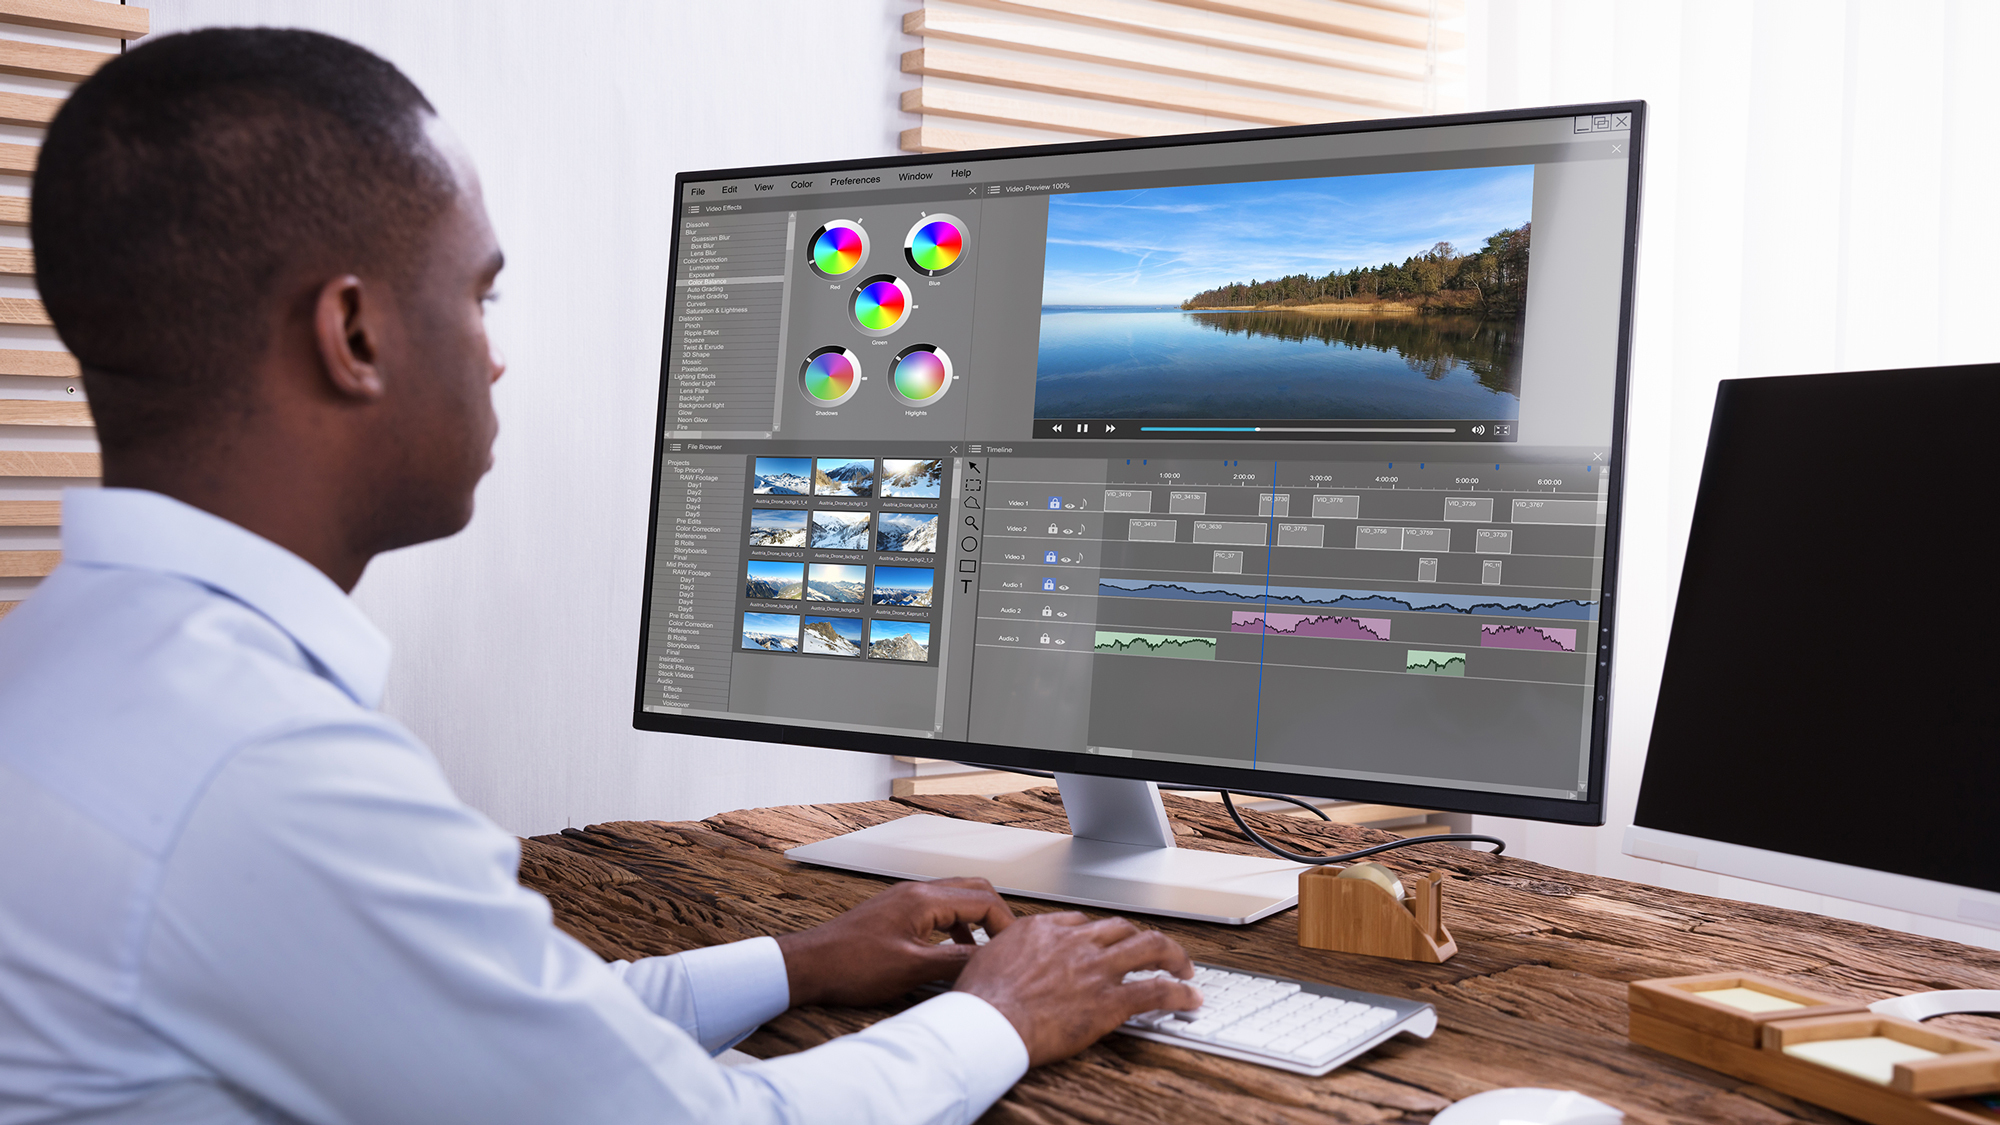
Once into the tool, set all your basic settings right. Ensure you set your timeline to the right resolution, video quality, frame rate, and audio frequency. Having all these basic details adjusted before you edit will eliminate any chance for a mismatch later.
Step Three: Create Rough Timeline

Arrange your video, images, text files, etc., on the timeline to make sense of the final product. If you are editing your videos to the beats of a sounds track you would have to place your audio file into the timelines too.
Step Four: Review, Trim, and Rearrange
Once you have a framework of what the final output would look like you can start to trim the fluff and extra footage. This is the time to eliminate footage that does not work in the film, find alternate angles, make changes to the frame crop, etc.
You might also use this time to understand the storytelling and the flow of the video. Does your movie make sense? Are there elements missing? Would some video footage make more sense on another section of the video? Answer these simple questions when you edit video online or offline.

Step Five: Add Transitions and Elements
It’s not time to add the icing and the ornaments to the cake. Add the final elements like graphics, text animations, and video transitions. Fine-tune the video to ensure the videos seamlessly glow from one to the other.
On a more elaborate project, this is also the time when you would add the green screen chroma key, add any VFX or CGI work, add special effects, etc.
Step Six: Fix Audio

Use the time to master the audio and ensure there are no unusual volume fluctuations. Ensure all the speech is in perfect sync and the music matches the mood, pace, and tone of the video.
Another thing to consider now is additional audio elements called sound design. These are small sounds-effects and foley elements that enhance the impact of the video. Audio like footsteps, gushing of water, clicking of keys on a keyboard – very minor sounds like this can make your video more professional and crisp.
Step Seven: Master and Color
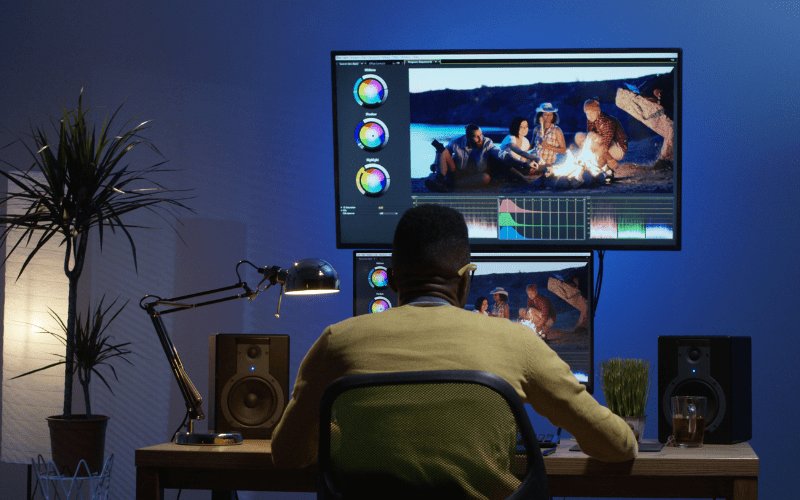
The last step of the process is color grading and mastering. As you fix the colors of the video, use this slow process to also review each and every frame one last time.
Color grading or color correction is the process of matching the colors of all your clips to ensure they seem part of the same film. They are also useful for establishing the mood of the film. For example, a film based in an older time is represented by muted colors.
Step Eight: Export and Feedback

Note that you will not find these processes the same if you are using an online tool like InVideo. These online applications are more straightforward and work on a template. You can merely upload your footage on the website and use the preset effects and animations.
Once you get the required feedback you can make changes to the same timeline and take a second export. Creating content and marketing is a totally different process, if the content is the king then marketing is the queen. Use these steps to get additional power to your marketing.
Also read:
- Ways to Tackle Gender Discrimination in the Workplace
- Woman Sparks Online Debate After Her Proposal Video Goes Viral
- Importance of Health Assessment Skills for Nurses
Final Thoughts
Having a systemic framework or a written checklist can also help keep you on track and make the editing process easier. Keep your timeline clean and use a minimalist approach when you start.
If you are new to video editing you will take a few months to find your footing as an editor. With constant practice and working on new techniques, anyone can quickly keep increasing their editing pace and create excellent videos.
Thank you!
Join us on social media!
See you!