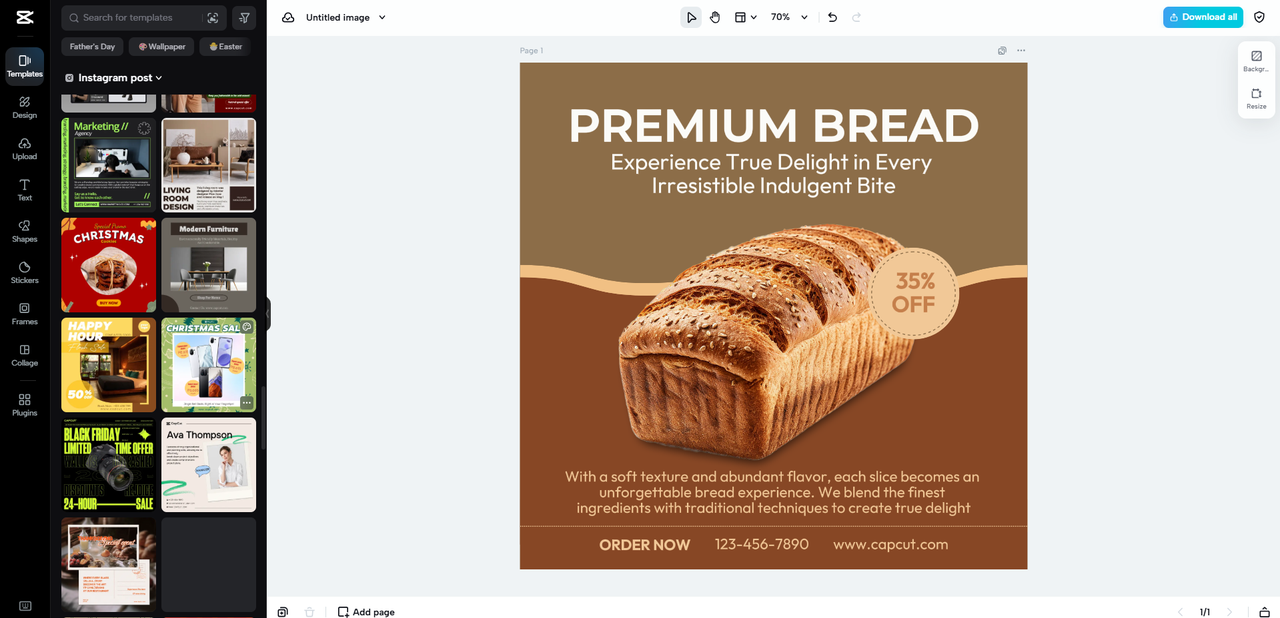
In today’s fast-paced digital world, screenshots and user interface (UI) elements are integral parts of creating tutorials, app designs, and presentations. With the rising importance of visually engaging content, having crisp, clear images is paramount to ensure a professional and user-friendly experience. The PNG format, in particular, is widely used for these assets due to its high-quality resolution and support for transparency, ensuring smooth integration with various backgrounds.
However, one common issue faced by digital creators and designers is the challenge of handling large file sizes and inconsistent image resolutions. Optimizing these PNG files without sacrificing quality is crucial. This is where a reliable PNG resizer like Pippit AI comes into play, helping reduce file size while maintaining the essential details for clear visuals. Let’s delve into the importance of resizing PNG images effectively and how to best approach this task.

Why PNG Resizing is Crucial for Screenshots and UI Elements
As digital platforms evolve, the need for responsive design has never been more critical. Whether it's an app, a website, or an online tutorial, it’s vital that the images you use, particularly screenshots and UI components, maintain their quality and clarity across a range of devices and screen sizes. This is where resizing PNG images comes into play.
When working with UI designs or screenshots, maintaining consistency across various screen sizes is essential. A well-resized image will look sharp and clear on any device, from small mobile screens to large desktop monitors. This consistency ensures that users can seamlessly interact with the design without visual inconsistencies that may arise from improperly scaled images.
Best Practices for Resizing PNG Screenshots and UI Elements
When it comes to resizing PNG images for screenshots or UI elements, there are several best practices that you should follow to ensure the images retain their clarity and functionality.
Maintain Aspect Ratio
One of the most important factors to consider when resizing PNG files is maintaining the correct aspect ratio. This ensures that the image retains its original proportions, preventing the image from becoming stretched or distorted. For example, if you are resizing a screenshot of an app interface, keeping the aspect ratio intact is crucial to ensure that text, buttons, and icons appear correctly without looking squished or overly stretched.
A reliable PNG resizer allows you to resize images while preserving the original aspect ratio. This makes it easy to optimize your UI components and screenshots without losing their integrity, maintaining crisp lines and readable text.
Optimize for Different Screen Resolutions
In today's digital landscape, where users access content from a wide range of devices, it’s essential to ensure that images are optimized for various screen resolutions. Resizing PNGs appropriately ensures that your content looks great, whether viewed on a high-resolution desktop monitor or a small mobile screen. When optimizing images for responsive design, remember that mobile users may need smaller image sizes for faster loading times, while desktop users may require higher-quality visuals for a more immersive experience.
Using a PNG resizer allows you to choose the ideal dimensions for your images based on the target device. This ensures that images will look sharp without unnecessarily large file sizes that slow down page loads.
Reduce File Size Without Quality Loss
Image file size plays a significant role in how fast a website or app loads. Large image files can take longer to load, which negatively impacts user experience, especially on mobile devices. By resizing PNG files to their optimal dimensions, you can significantly reduce the file size without sacrificing image quality. Tools like Pippit AI's PNG resizer can be used to resize PNG images, ensuring that your UI elements and screenshots load faster and are optimized for the web.
Use Transparent PNGs for UI Components:
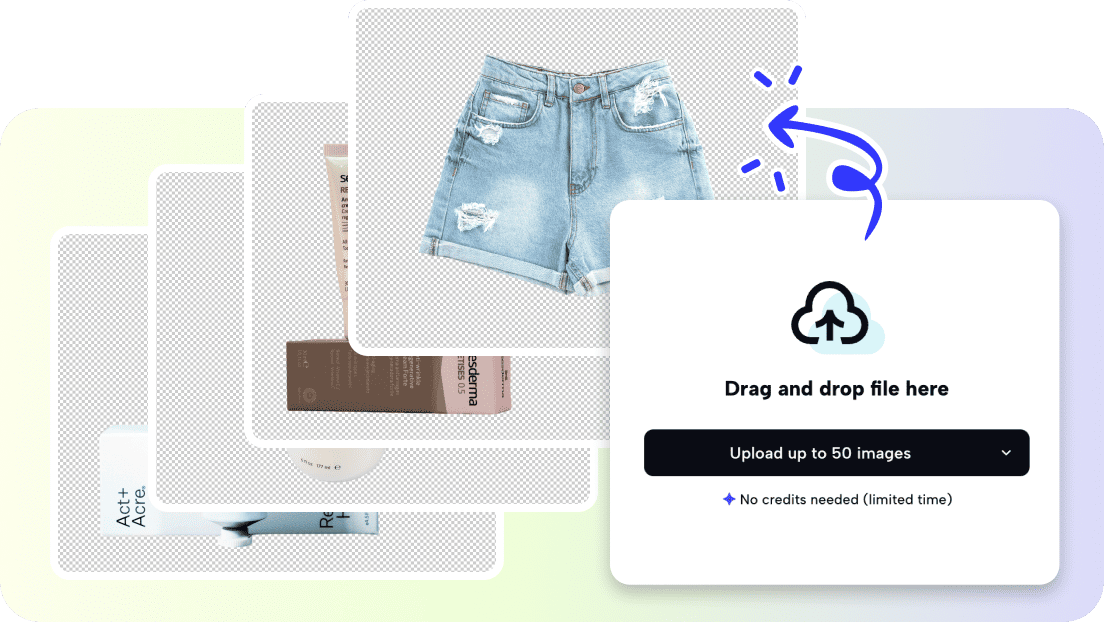
Another key benefit of using PNGs for UI elements is their ability to support transparency. Transparent backgrounds allow for greater flexibility when integrating images into your design, as they can blend seamlessly with any background color or texture. This is especially important for logos, icons, and buttons within app interfaces or websites. A good PNG resizer tool will maintain the transparency of your images so your UI elements remain adaptable and clean, regardless of the background.
Pippit AI’s PNG Resizer – The Perfect Tool for UI & Screenshots
When it comes to resizing PNG images without compromising on quality, Pippit AI’s PNG resizer stands out as a powerful and reliable tool and here is why:
- Smart Resizing Capabilities: Pippit AI’s PNG resizer uses advanced algorithms to ensure pixel-perfect resizing, maintaining the sharpness of every detail. Whether you are resizing a button, icon, or text, the tool guarantees that the UI elements stay crisp and clear.
- Preservation of Transparency: Unlike many other resizing tools, Pippit AI supports transparency. This is essential for UI elements like buttons and icons that need to blend seamlessly with various background colors and textures. The transparency is preserved, ensuring your design remains adaptable and clean without any unwanted background color changes.
- Preservation of Transparency: Unlike many other resizing tools, Pippit AI supports transparency. This is essential for UI elements like buttons and icons that need to blend seamlessly with various background colors and textures. The transparency is preserved, ensuring your design remains adaptable and clean without any unwanted background color changes.
- Bulk Processing: When working on large projects, managing multiple images can become time-consuming. Pippit AI offers bulk processing, enabling you to resize multiple images at once. This feature saves you significant time and effort, especially when dealing with numerous assets for web and app design.
- Ideal for UI Design: Pippit AI’s features are tailored to the specific needs of UI designers, making it perfect for optimizing UI components like app icons, logos, and interface elements, all while maintaining the highest quality standards.
- Seamless Integration: Whether you’re working on a web page, mobile app, or other design projects, Pippit AI’s PNG resizer ensures your images integrate smoothly with the rest of your design, offering a streamlined experience across all platforms.
3 Easy Steps to Resize Your PNG with Pippit AI
Step 1: Upload your UI elements or screenshots
The first step is to upload the PNG image you wish to resize. Whether it’s a logo, screenshot, or UI component, simply drag and drop the image into the Pippit AI tool.
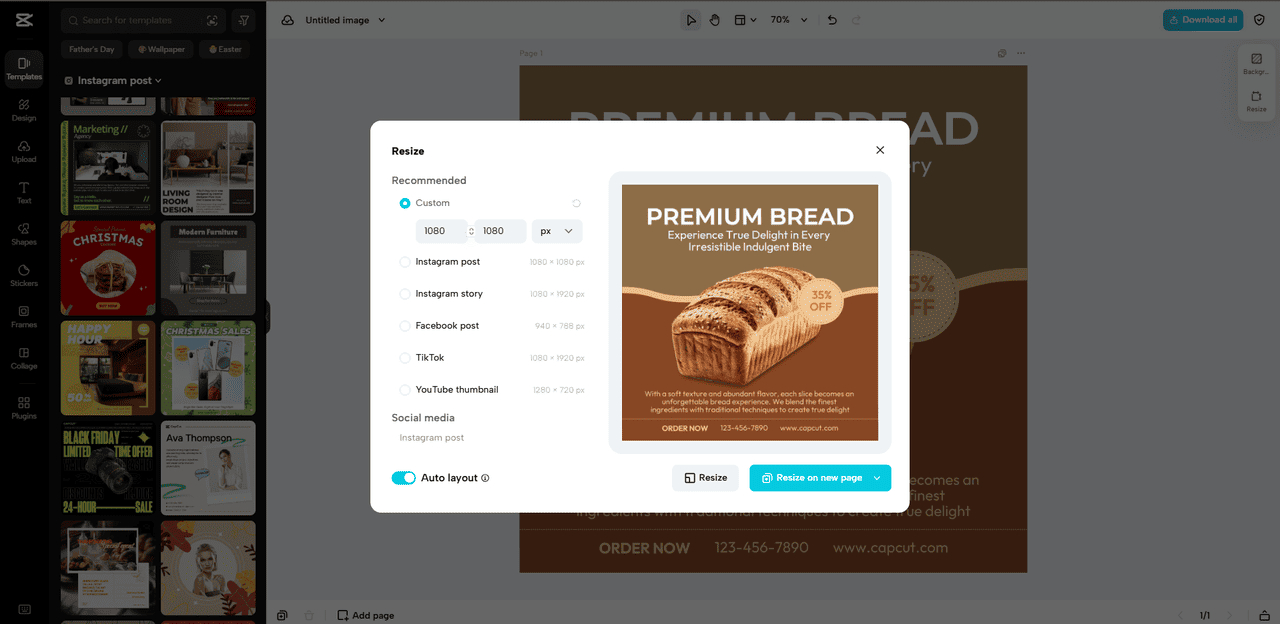
Step 2: Choose the ideal dimensions
Next, select the optimal dimensions for your image. You can specify the exact size or choose from preset options, depending on where the image will be used.
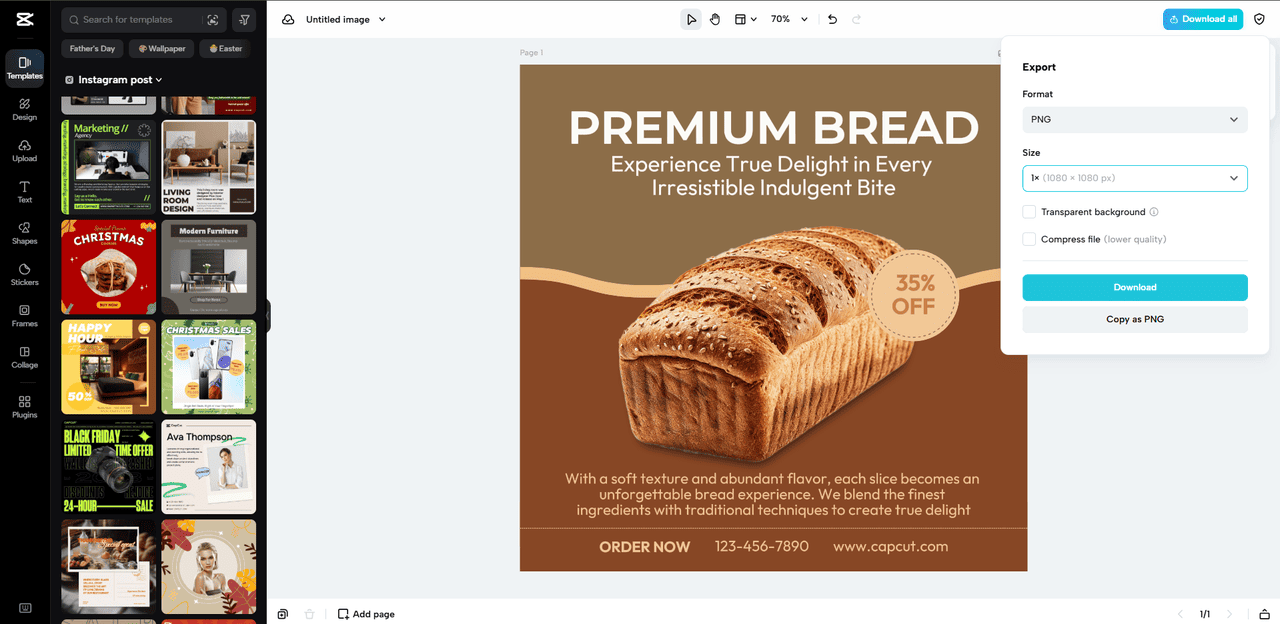
Step 3: Download optimized images
Once resized, you can easily download your optimized PNG files, ready for integration into your project or website.
Conclusion
Resizing PNG images for screenshots and UI elements is a vital step in maintaining clarity, consistency, and performance in digital design.
By adhering to best practices such as maintaining aspect ratio, optimizing for different screen resolutions, and reducing file sizes, you can ensure that your images look sharp and load quickly without sacrificing quality. For UI designers and tech professionals, using a reliable PNG resizer tool like Pippit AI simplifies the process of optimizing images. It ensures pixel-perfect details, preserves transparency, and supports bulk processing, making it the ideal choice for anyone looking to streamline their design workflow.
Thank you!
Subscribe to our newsletter! Join us on social networks!
See you!

